- Published on
Convert an AWS DynamoDB table to global with zero downtime using CloudFormation
- Authors
- Name
- Chloe McAree (McAteer)
- @ChloeMcAteer3
Seeing your project grow to the point where it’s adopted in another region is a significant measure of success. This expansion often necessitates supporting a global database to ensure low latency and high availability.
I have been working with AWS DynamoDB, which is known for its scalability and performance, and it also supports global tables. If you, like me, have set up your database through CloudFormation Infrastructure as Code (IaC), you might have noticed that a standard DynamoDB table and a global DynamoDB table are completely different resource types.
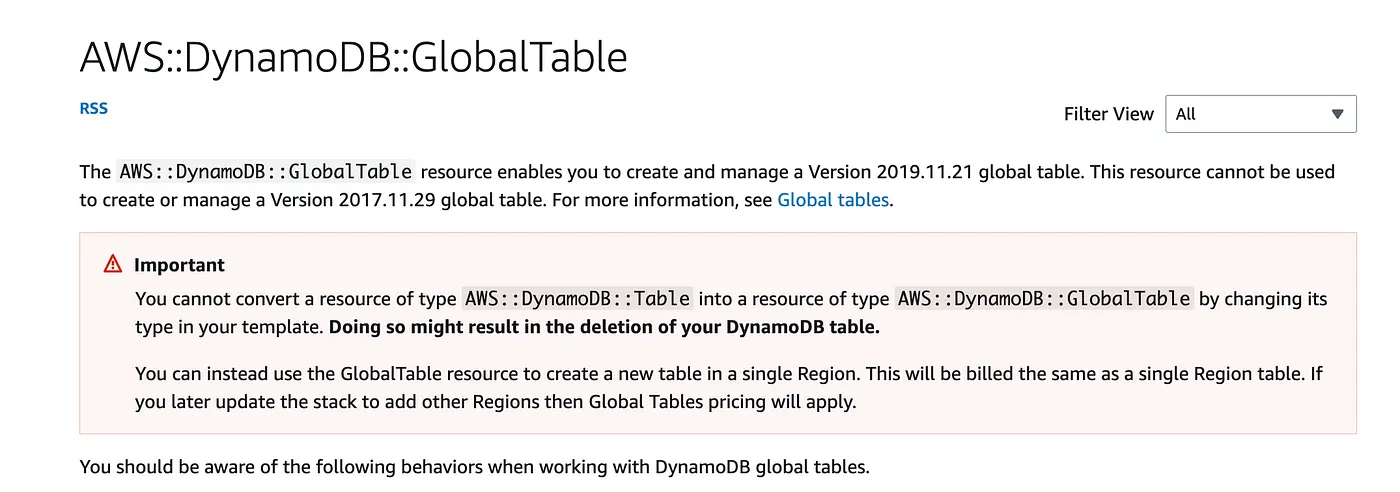
When you go to the AWS::DynamoDB::GlobalTable CloudFormation documentation, you are met with this alert box that says — “You cannot convert a resource of type AWS::DynamoDB::Table table to AWS::DynamoDB::GlobalTable by changing its resource type”
So how should you do this? Should you create a new global table and then migrate all items into it, deleting the old one afterward?
You could do this, but this method involves downtime when you switch to use the new table and also has the hassle of migrating all data from one database to another. Instead, there is a slicker way to convert an existing DynamoDB table into a global table seamlessly, using this blog!
Making your DyanmoDB table global with no downtime
The following will allow you to change an existing AWS::DynamoDB::Table to be an AWS::DynamoDB::GlobalTable without downtime and without the need to run a data migration script!
When doing anything to a databases I always recommend taking a backup before you start — just in case anything unexpected happens!
Here is my template for my existing table. You can see that it is just a standard table, it has a primary and a sort key.
AWSTemplateFormatVersion: '2010-09-09'
Description: Dynamo DB for event data
Resources:
  BoothDynamoTable:
    Type: AWS::DynamoDB::Table
    Properties:
      AttributeDefinitions:
        - AttributeName: "eventId"
          AttributeType: "S"
        - AttributeName: "createdAt"
          AttributeType: "N"
      BillingMode: PAY_PER_REQUEST
      KeySchema:
        - AttributeName: "eventId"
          KeyType: "HASH"
        - AttributeName: "createdAt"
          KeyType: "RANGE"
      TableName: events
Ensure your DeletionPolicy is set to Retain
We are going to remove the link from the existing CloudFormation stack to our DynamoDB table. Before we do this, ensure the table resource has a DeletionPolicy of Retain, so it won’t be removed when deleting the stack. If it doesn’t, update your CloudFormation and redeploy.
AWSTemplateFormatVersion: '2010-09-09'
Description: Dynamo DB for event data
Resources:
  BoothDynamoTable:
    Type: AWS::DynamoDB::Table
    DeletionPolicy: Retain     <----<MAKE SURE THIS IS IN YOUR TEMPLATE>
    Properties:
      AttributeDefinitions:
        - AttributeName: "eventId"
          AttributeType: "S"
        - AttributeName: "createdAt"
          AttributeType: "N"
      BillingMode: PAY_PER_REQUEST
      KeySchema:
        - AttributeName: "eventId"
          KeyType: "HASH"
        - AttributeName: "createdAt"
          KeyType: "RANGE"
      TableName: events
This means if your cloudformation stack gets deleted, your table will still exist but it will remain orphaned from the stack.
Now you are probably thinking, why would we want a table in this state that isn’t linked up to infra as code! Well don’t worry - this is where it gets interesting!
Delete your CloudFormation stack
Yes, you read that right! Now that we definitely have Retain on delete applied to the table, we are going to go ahead and delete the stack! If you are using CLI commands in the CI/CD pipelines to manage CloudFormation, here is the delete command you will need:
aws cloudformation delete-stack --stack-name my-blog-demo
Or if you are doing this through the console you can do this:
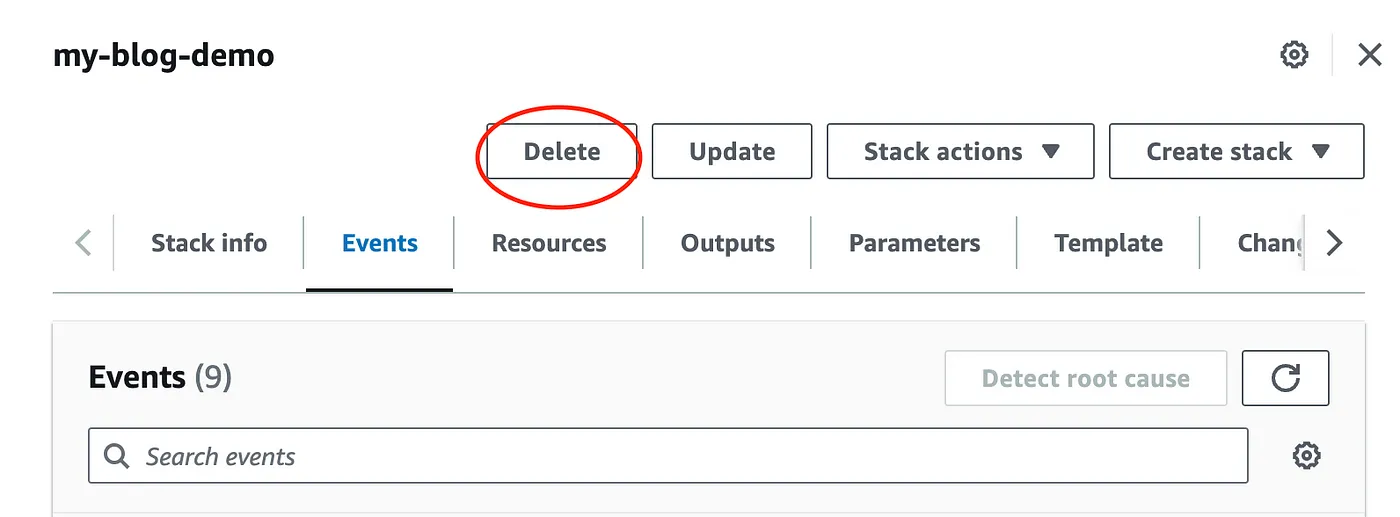
Delete Cloudformation table
With your stack deleted, lets navigate to DynamoDB console and confirm the table is still present!
And it is:

Change DynamoDB Type to GlobalTable
Now we are going to update our old database infrastructure template to use the AWS::DynamoDB::GlobalTable. I know what you’re thinking, this isn’t possible — but don’t worry, trust the process!
AWSTemplateFormatVersion: '2010-09-09'
Description: Global Dynamo DB for event data
Resources:
  GlobalEventsDynamoTable:
    Type: AWS::DynamoDB::GlobalTable
    DeletionPolicy: Retain
    Properties:
      AttributeDefinitions:
        - AttributeName: "eventId"
          AttributeType: "S"
        - AttributeName: "createdAt"
          AttributeType: "N"
      BillingMode: PAY_PER_REQUEST
      KeySchema:
        - AttributeName: "eventId"
          KeyType: "HASH"
        - AttributeName: "createdAt"
          KeyType: "RANGE"
      TableName: events
      Replicas:
        - Region: eu-west-1
      StreamSpecification:
        StreamViewType: NEW_IMAGE
As you can see above you’ll also need to add theReplicas section. A key thing to note is when running this the first time, this replicas section should only contain the region that your current table exists in (The table we have just orphaned from IaC). Additional replicas need to be added one at a time later in the process.
Global tables also require streams to be enabled and therefore, a StreamSpecification is added to the template as well.
Linking this global template to your existing table
Now we are going to link this Global DynamoDB template to our existing orphaned Dynamo table.
Within CloudFormation Stacks, select Create Stack and in the drop down list select With existing resources(Import resources).

Specify your updated template and select “Next”.
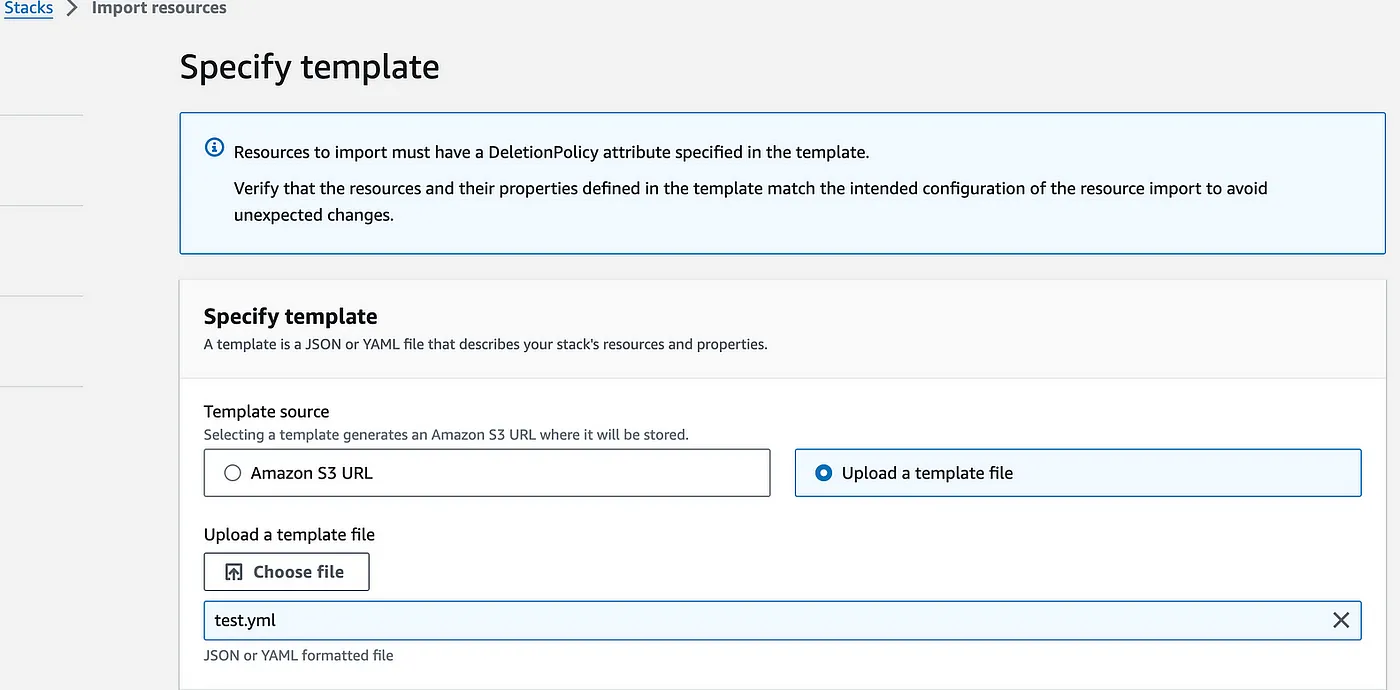
You will then need to enter the table name of the table you want to link this template to. Here I will enter in events.
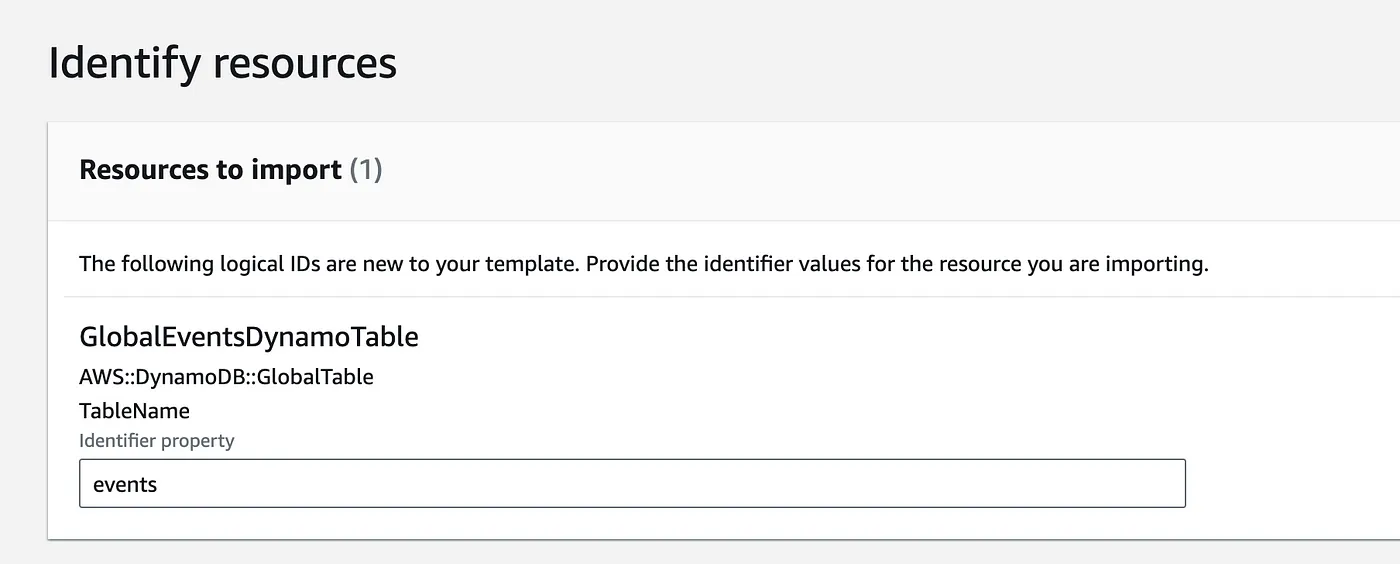
Once your new template has been applied, you will see the status change to IMPORT_COMPLETE :
Adding another region
To add a replica (again — you an only one at a time), update your template’s Replicas section to include another region like below:
AWSTemplateFormatVersion: '2010-09-09'
Description: Global Dynamo DB for event data
Resources:
  GlobalEventsDynamoTable:
    Type: AWS::DynamoDB::GlobalTable
    DeletionPolicy: Retain
    Properties:
      AttributeDefinitions:
        - AttributeName: "eventId"
          AttributeType: "S"
        - AttributeName: "createdAt"
          AttributeType: "N"
      BillingMode: PAY_PER_REQUEST
      KeySchema:
        - AttributeName: "eventId"
          KeyType: "HASH"
        - AttributeName: "createdAt"
          KeyType: "RANGE"
      TableName: events
      Replicas:
        - Region: eu-west-1
        - Region: us-west-1
      StreamSpecification:
        StreamViewType: NEW_IMAGE
Then run an update on your template — you don’t need to import this in the console anymore. Now that its synced-up you can run the update as normal through your CI/CD, CLI or in console — whichever you are familiar with.
Here is the CLI command:
aws cloudformation deploy --template-file global-dynamodb.yml --stack-name my-blog-demo
Once your stack has updated, you should now see the replica region appear under the Global tables tab within the DynamoDB console:
And thats all it takes! By following these steps, you can seamlessly transition your DynamoDB table CloudFormation to a global table, ensuring high availability and low latency for users across different regions, without downtime. Embracing a global reach not only enhances user experience but also signifies the growth and success of your project!

